前段时间写移动端,用到了瀑布流,一开始用 css 的 column-count 来写,都写完了,效果也不错,结果一加载数据就废了。还是老老实实用 js 计算位置吧。
基础思路
- 整体实现:
一个不限制高度的容器,定位搞成 position: relative,里面所有卡片通过计算位置,实现瀑布流。
- 计算的实现:
所有卡片都使用绝对布局,在 top: 0, left: 0初始化。然后按顺序计算每一个卡片的高度,位置信息保存起到一个对象中,每一次计算更新该对象的值,找到最短的一列,将当前卡片排到该列中。
代码实现
基础内容
<div class="list-wrap">                   // 整个容器
    <div class="card-wrap">               // 瀑布流控制的卡片外层
        <div class="card-item"></div>     // 卡片内容实体
    </div>
</div>
这就是基本结构。有多个卡片内容,就会有多个 <div class="card-wrap">。
现在我们编写100个 item,并填上基础样式:
.list-wrap {
    width: 100%;
    box-sizing: border-box;
    position: relative;
}

.card-wrap {
    height: auto;
    position: absolute;
    box-sizing: border-box;
}

.card-item {
    background-color: #789;
    border-radius: 6px;
    line-height: 34px;
    font-size: 24px;
}
现在所有卡片会堆叠到左上角。
添加不同内容
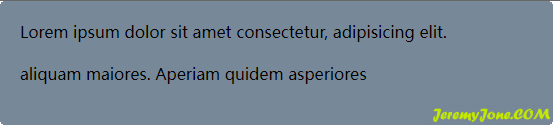
接下来,提供一些基本内容,让它们看起来并不一样:
const cardItems = document.querySelectorAll('.card-item');
cardItems.forEach(item => {
    item.innerHTML = 'Lorem ipsum dolor sit amet consectetur, adipisicing elit. Exercitationem consectetur veniam nulla, necessitatibus rem aliquam maiores. Aperiam quidem asperiores tempora alias amet sed temporibus obcaecati exercitationem? Sint praesentium vel blanditiis.'.split(' ').slice(0, Math.random() * 30).join(' ');
});
他们现在看起来有一些样子了,但还是堆叠在一起:
核心逻辑
为了让它们分开,需要遍历他们,并让它们每一个都找到自己的位置,所以就要核心的计算:
var columns = 2;  // 暂时写2列,可以改

// 保存数据的对象数组
var columnsHeightList = Array.from({length: columns}, () => ({}));

const cardList = document.querySelectorAll('.card-wrap');
cardList.forEach((item, i) => {
    // 计算每个卡片的宽度
    item.style.width = `${100 / columns}%`;

    // 如果索引小于 columns,属于第一行
    if (i < columns) {
        // 设置绝对位置
        item.style.top = 0;
        item.style.left = `${(100 / columns) * i}%`;

        // 第一行,直接将数据保存到数组中
        columnsHeightList[i] = {
            height: item.clientHeight, // 总高度
            left: `${(100 / columns) * i}%`, // 左偏移量,后续该列卡片的 left 值都参考该值
            count: 1 // 该列有多少数量卡片
        }
    } else {
        // 取 columnsHeightList 中的最小高度,就是当前卡片该放置的列
        const minHeight = Math.min(...columnsHeightList.map(h => h.height));
        // 取该高度值的索引
        const index = columnsHeightList.findIndex(it => it.height === minHeight);

        if (columnsHeightList[index]) {
            // 设置当前卡片的位置
            item.style.top = `${columnsHeightList[index].height}px`;
            item.style.left = columnsHeightList[index].left;

            // 将卡片数据保存到 columnsHeightList 中
            columnsHeightList[index].height += item.clientHeight;
            columnsHeightList[index].count++;
        }
    }
});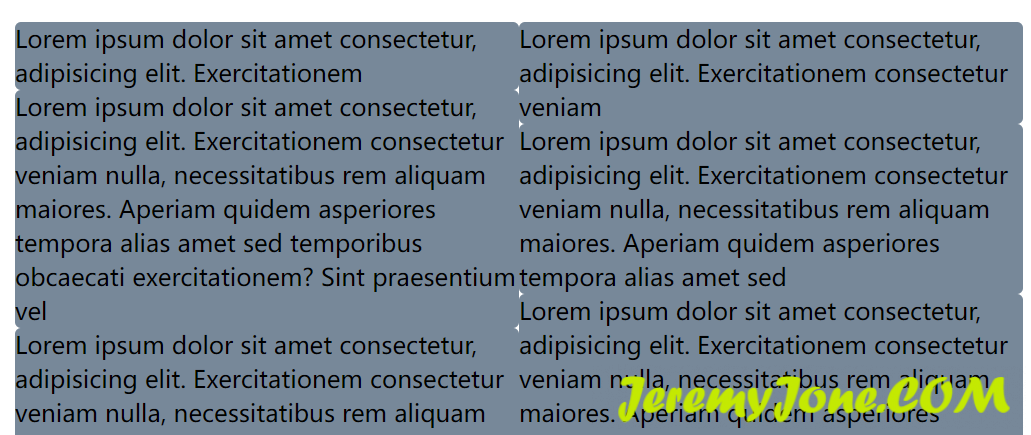
目前看上去已经可以按顺序展示了。
控制边界
为了让它看上去更顺眼一些,加上一些 padding 值:
var gap = 24;  定义间距值

if (i < columns) {
    // ... 设置位置

    if (i % columns === 0) {
        // 左侧列,不要 padding-left
        item.style.paddingRight = `${gap / 2}px`;
    } else if (i % columns === columns - 1) {
        // 右侧列,不要 padding-right
        item.style.paddingLeft = `${gap / 2}px`;
    } else {
        item.style.paddingLeft = `${gap / 2}px`;
        item.style.paddingRight = `${gap / 2}px`;
    }
} else {
    // 设置位置,修改高度值,因为它也需要具有一定 top 值
    item.style.top = `calc(${columnsHeightList[index].height}px + ${gap * columnsHeightList[index].count}px)`;

    // 这里注意和上面不一样,该处使用最短高度的 index 值
    if (index % columns === 0) {
        // 左侧列,不要 padding-left
        item.style.paddingRight = `${gap / 2}px`;
    } else if (index % columns === columns - 1) {
        // 右侧列,不要 padding-right
        item.style.paddingLeft = `${gap / 2}px`;
    } else {
        item.style.paddingLeft = `${gap / 2}px`;
        item.style.paddingRight = `${gap / 2}px`;
    }
}
现在看上去已经很好了:
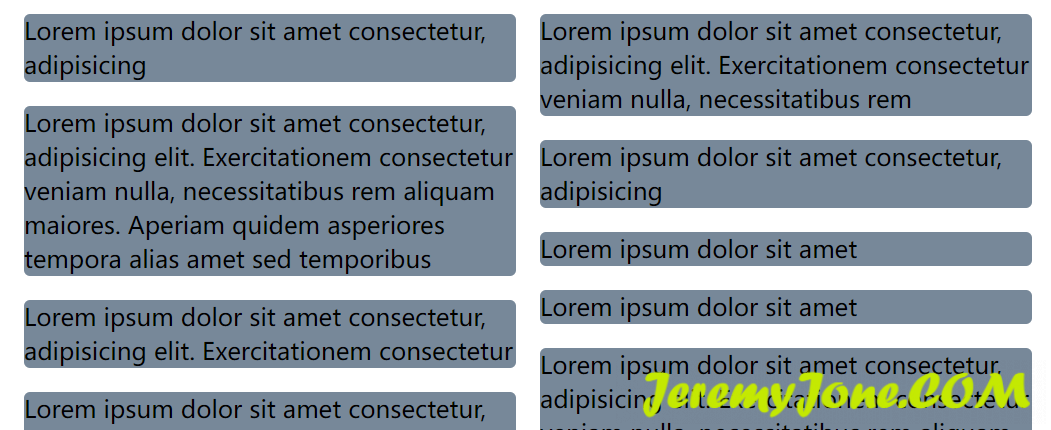
我们稍微修饰一下:
.card-item {
    padding: 24px;
}
正常展示
再给每个卡片加上需要,来验证一下我们的瀑布流是不是按照最短高度来排序展示的:
const cardItems = document.querySelectorAll('.card-item');
cardItems.forEach((item, index) => {
    item.innerHTML = `${index + 1}、` + 'Lorem ipsum dolor sit amet consectetur, adipisicing elit. Exercitationem consectetur veniam nulla, necessitatibus rem aliquam maiores. Aperiam quidem asperiores tempora alias amet sed temporibus obcaecati exercitationem? Sint praesentium vel blanditiis.'.split(' ').slice(0, Math.random() * 30).join(' ');
});
基本是我们需要的样子了~
外层高度问题
但是~~~~~~
但是,我们看一下 list-wrap:
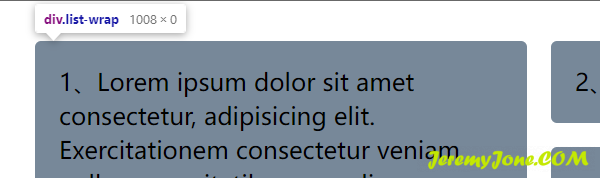
它没有高度。这在实际应用中是很要命的,如果这个瀑布流下面还有内容,那么会直接展示在这些卡片的下方,很不友好。
下面来处理外层 list-wrap 的高度问题。在最后,添加如下内容:
const listWrap = document.querySelector('.list-wrap');
let height = 0;
let count = 0;
columnsHeightList.forEach(c => {
    if (c.height > height) {
        height = c.height;
        count = c.count;
    }
})
listWrap.style.height = `${height + count * gap}px`
此时就正常给它添加了一个 height 属性。
至此,一个瀑布流基本就完成了,还剩一些边缘问题,比如数据加载时的重新渲染逻辑,这个可以通过 id 等属性来控制,详细内容不再本文讨论范围。
完整代码
<!DOCTYPE html>
<html lang="en">

<head>
    <meta charset="UTF-8">
    <meta http-equiv="X-UA-Compatible" content="IE=edge">
    <meta name="viewport" content="width=device-width, initial-scale=1.0">
    <title>瀑布流</title>
    <style>
        html,
        body {
            padding: 20px;
            margin: 0;
        }

        .list-wrap {
            width: 100%;
            box-sizing: border-box;
            position: relative;
        }

        .card-wrap {
            height: auto;
            position: absolute;
            box-sizing: border-box;
        }

        .card-item {
            background-color: #789;
            border-radius: 6px;
            line-height: 34px;
            font-size: 24px;
            padding: 24px;
        }

    </style>
</head>

<body>
    <div class="list-wrap">
        <div class="card-wrap">
            <div class="card-item"></div>
        </div>
        <div class="card-wrap">
            <div class="card-item"></div>
        </div>
        <div class="card-wrap">
            <div class="card-item"></div>
        </div>

        ...
    </div>

    <script>
        var columns = 2;
        var columnsHeightList = Array.from({ length: columns }, () => ({}));
        var gap = 24;

        const cardItems = document.querySelectorAll('.card-item');
        cardItems.forEach((item, index) => {
            item.innerHTML = `${index + 1}、` + 'Lorem ipsum dolor sit amet consectetur, adipisicing elit. Exercitationem consectetur veniam nulla, necessitatibus rem aliquam maiores. Aperiam quidem asperiores tempora alias amet sed temporibus obcaecati exercitationem? Sint praesentium vel blanditiis.'.split(' ').slice(0, Math.random() * 30).join(' ');
        });

        const cardList = document.querySelectorAll('.card-wrap');
        cardList.forEach((item, i) => {
            item.style.width = `${100 / columns}%`;

            // 如果索引小于 columns,属于第一行
            if (i < columns) {
                // 设置绝对位置
                item.style.top = 0;
                item.style.left = `${(100 / columns) * i}%`;

                if (i % columns === 0) {
                    // 左侧列,不要 padding-left
                    item.style.paddingRight = `${gap / 2}px`;
                } else if (i % columns === columns - 1) {
                    // 右侧列,不要 padding-right
                    item.style.paddingLeft = `${gap / 2}px`;
                } else {
                    item.style.paddingLeft = `${gap / 2}px`;
                    item.style.paddingRight = `${gap / 2}px`;
                }

                // 第一行,直接将数据保存到数组中
                columnsHeightList[i] = {
                    height: item.clientHeight, // 总高度
                    left: `${(100 / columns) * i}%`, // 左偏移量,后续该列卡片的 left 值都参考该值
                    count: 1 // 该列有多少数量卡片
                }
            } else {
                // 取 columnsHeightList 中的最小高度,就是当前卡片该放置的列
                const minHeight = Math.min(...columnsHeightList.map(h => h.height));
                // 取该高度值的索引
                const index = columnsHeightList.findIndex(it => it.height === minHeight);

                if (columnsHeightList[index]) {
                    // 设置当前卡片的位置
                    item.style.left = columnsHeightList[index].left;
                    item.style.top = `calc(${columnsHeightList[index].height}px + ${gap * columnsHeightList[index].count}px)`;

                    // 将卡片数据保存到 columnsHeightList 中
                    columnsHeightList[index].height += item.clientHeight;
                    columnsHeightList[index].count++;

                    if (index % columns === 0) {
                        // 左侧列,不要 padding-left
                        item.style.paddingRight = `${gap / 2}px`;
                    } else if (index % columns === columns - 1) {
                        // 右侧列,不要 padding-right
                        item.style.paddingLeft = `${gap / 2}px`;
                    } else {
                        item.style.paddingLeft = `${gap / 2}px`;
                        item.style.paddingRight = `${gap / 2}px`;
                    }
                }
            }
        });

        const listWrap = document.querySelector('.list-wrap');
        let height = 0;
        let count = 0;
        columnsHeightList.forEach(c => {
            if (c.height > height) {
                height = c.height;
                count = c.count;
            }
        })
        listWrap.style.height = `${height + count * gap}px`
    </script>
</body>

</html>

文章评论